How to install and use I2P
Graphical guide to install I2P on windows and configure the SAM bridge
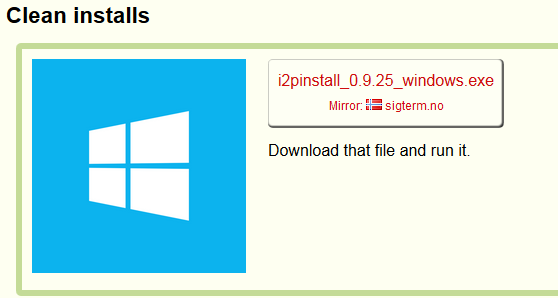
Get I2P for windows and download.
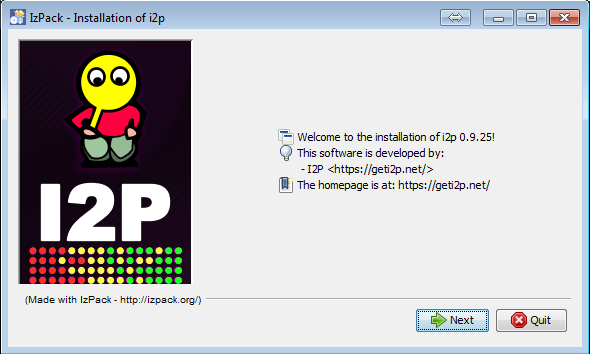
Start the installation. You may also need to install the latest Java.
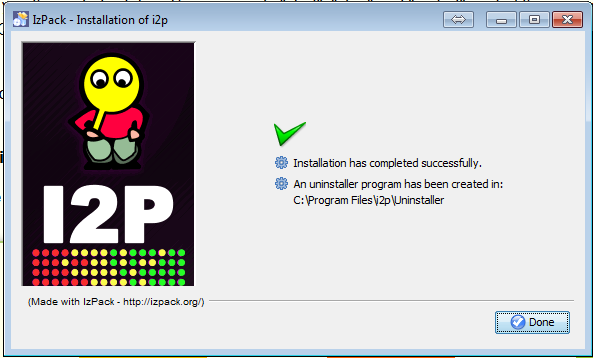
Choosing all default values, finish the installation.
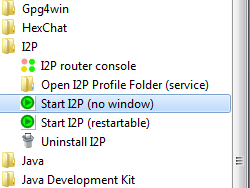
Launch I2P from the Start menu with the “Start I2P (no window)” link
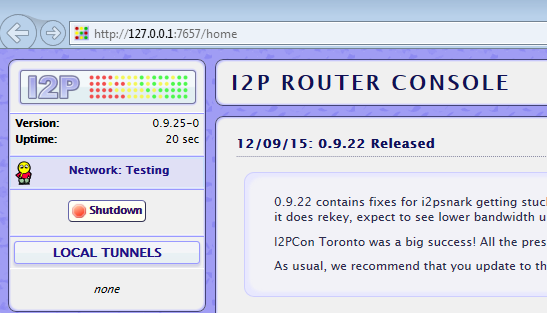
After a few seconds the “I2P router console” shall open in your browser. If not, open your browser to http://127.0.0.1:7657/home
Click on the Top left I2P logo then on “I2P Services” to open the “I2P client configuration”. Alternatively, open your browser to http://127.0.0.1:7657/configclients
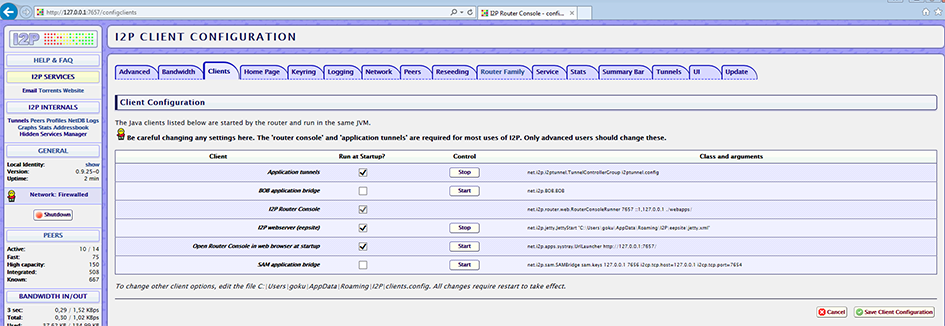
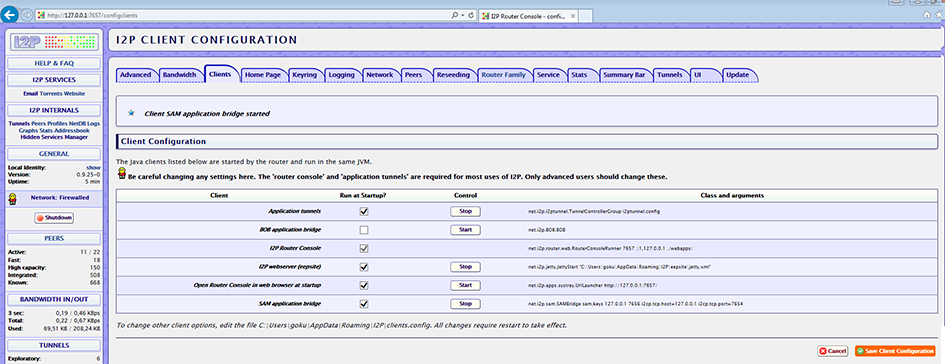
Start “SAM application bridge”, check “run on startup” and click on “Save client configuration”.
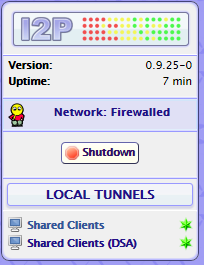
When you see “Shared Client” in green, it means the I2P router is ready!
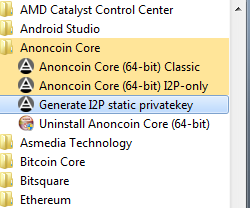
Go in the Anoncoin folder (How_to_install_Anoncoin) in the Start menu and click on “Generate I2P static privatekey”. Alternatively, execute anoncoin-qtc -i2p.options.enabled=1 -onlynet=i2p -generatei2pdestination
Anoncoin will launch and try to connect to the I2P router via SAM bridge with default parameters. If the router is ready it will eventually connect.

When the “Anoncoin - Generated I2P Destination” box has opened, it means the Anoncoin client has created a new static I2P destination (in file I2Pkey.dat).
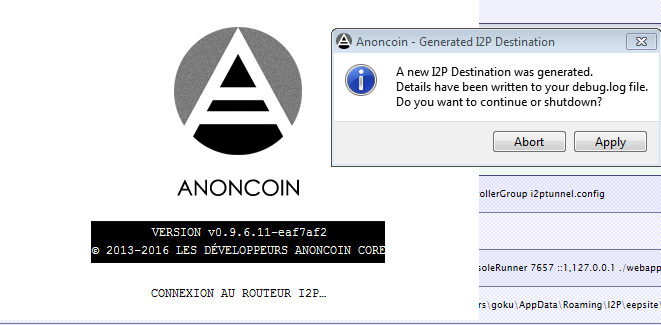
Abort will close the client, Apply will launch it and open the “Private I2P Destination Details” windows. Any choice done will keep the previously generated I2P destination.
On next launch using the “Anoncoin Core (64-bit) I2P-only” link, it will automatically use the same previously generated I2P destination in a static manner. Alternatively, execute anoncoin-qtc -i2p.options.enabled=1 -onlynet=i2p You can also set this as a permanent setting via anoncoin.conf (see How_to_install_Anoncoin.

Another possibility is to set the I2P destination in the anoncoin.conf file, as detailed elsewhere, which will take precedence on the I2P destination stored in I2Pkey.dat.
How to install and start I2P on Linux systems using CLI
Precompiled binaries for many systems can be download from the i2p web site. After installation, it will be necessary to start the i2p router by typing
i2prouter start
in a terminal window. After a few seconds, the i2p console will open in your web browser.
Debian and Ubuntu binaries are currently unavailable. To install I2P on these systems, follow the instructions below.
Debian
Instructions can be found here: 1
Ubuntu
You must first add the i2p repository for your distro.
With the Synaptic package manager, go to the menu options > repositories > third parties > add and then type
ppa:i2p-maintainers/i2p
To install I2P, refresh with the reload button on the top left of the window. Next type i2p in the search bar, then right click on i2p and choose “installation”. Finally execute everything you chose with the button in the main window.
Alternatively, this can all be done in the command line with the following three commands
sudo apt-add-repository ppa:i2p-maintainers/i2p
sudo apt-get update
sudo apt-get install i2p
Finally start the i2p router
i2prouter start
After a few minutes, connect to the router console at 127.0.0.1:7657
Enable the I2P SAM bridge, allow it to run at restart and save the configuration (as explained above in the graphical guide)
After five minutes try to connect to your I2P router from anoncoin (see How_to_build_Anoncoin_from_source/#What_to_do_next.3F)
Setup your browser to use I2P via a proxy
In Firefox go to preferences or options > advanced > network. Click on proxy settings and in the http field type 127.0.0.1 and 4444 for the port.
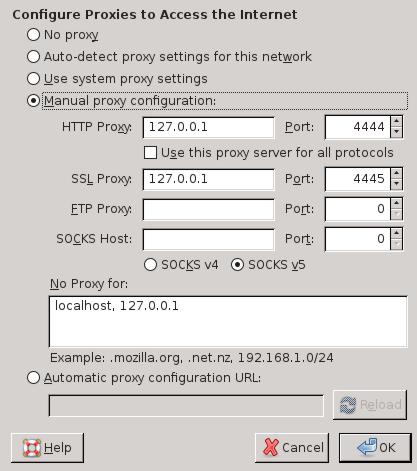
Note that all http addresses will be sent through this proxy, and you will no longer be able to access normal clearnet web pages. By using the Firefox and Chome plugin called FoxyProxy, it is possible to configure your browser to use this proxy only for urls that end with .i2p. If you use FoxyProxy, be sure to also disable cross site scripting using the NoScript plugin.